One Loaf at a Time: Choosing a Pan for Banana Bread and Sandwich Loaves
Product links are for reference. Verify current details on the retailer page before buying.
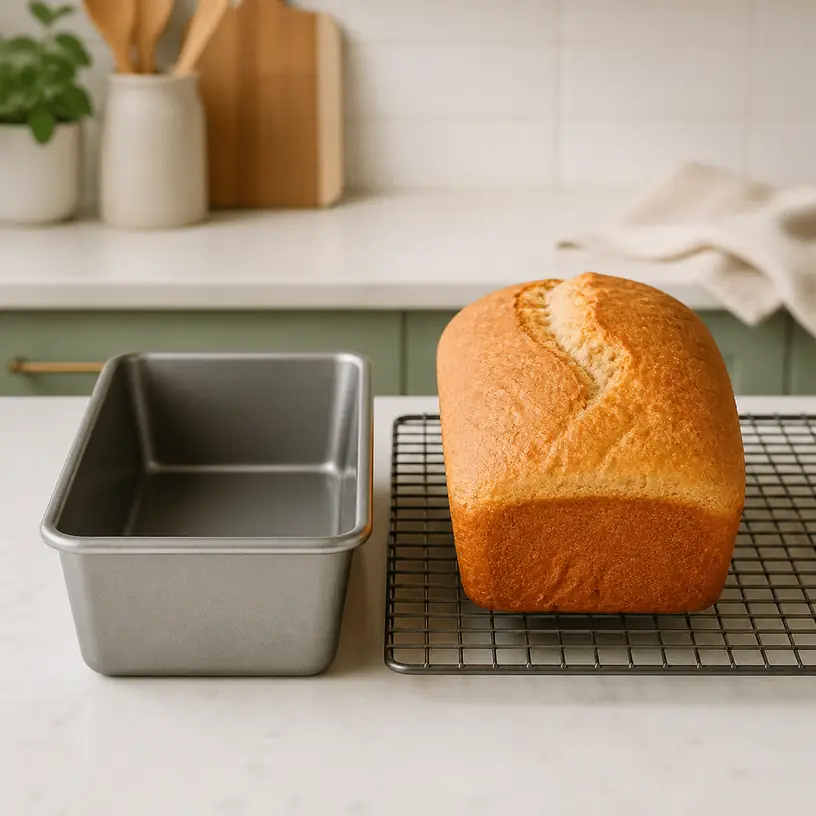
Illustrative image, not an official product photo.
Short answer
Choose a loaf pan from the recipe inward. First match the recipe’s stated inside length, width, and depth; pans sold under the same familiar size label may still hold different amounts of batter or dough. Then decide whether the pan is mainly for quick breads, yeast loaves, small cakes, or a mixture of tasks. Compare the stated material and surface, wall shape, corner radius, usable capacity, full exterior footprint, grip area, temperature guidance, and cleaning instructions. A pan that fits the oven but changes the loaf’s depth can change how the center and crust finish, so shape and capacity matter more than a broad label such as “standard.”
Search reference
Loaf pans for home baking
Compare inside measurements, stated capacity, construction, corner shape, rim design, release and care instructions against the recipes you bake most often.
View matching optionsStart with a recipe, not a pan label
A loaf pan turns one batch into a deep, compact bake. That depth is useful for a sliceable shape, but it also makes the relationship between the recipe and the vessel unusually important. Batter near the wall begins setting while the center still has farther to go. Dough also rises within the boundaries of the pan rather than spreading freely. If the pan is substantially narrower, shallower, or more flared than the recipe expects, the same mixture occupies a different depth and surface area.
Before shopping, open two or three recipes you actually intend to repeat. Record the requested pan dimensions and whether those dimensions refer to the top opening, the base, or simply a conventional name. Also note the stated preparation method: greasing, flouring, parchment, an uncoated surface, or another approach. The recipe and pan maker should both support the intended oven temperature and preparation.
This short recipe audit prevents a common mismatch: choosing the largest-looking pan for flexibility. Extra room is not neutral. A small batch in an oversized pan can become shallow, while too much batter in a smaller vessel can rise beyond the intended boundary. If a recipe does not explain substitutions, use the specified format or consult a reliable conversion rather than estimating by eye.
Who this is for
- Home bakers who regularly make banana bread, pound-style cakes, sandwich loaves, meatless savory loaves, or other recipes written for a rectangular pan.
- First-apartment kitchens that need one versatile piece of bakeware and have already identified the most common recipe size.
- Bakers replacing a dented, peeling, rusted, warped, or difficult-to-clean pan.
- Households adding a second matching pan for recipes that yield two loaves or for side-by-side batch preparation.
- Small-oven users willing to compare the complete exterior footprint with the rack and required appliance clearances.
- Gift buyers who know the recipient’s preferred recipes, care routine, and available storage space.
Who should skip it
- Skip a rigid rectangular pan when the recipe is designed around a free-form loaf, Dutch oven, tube pan, bundt pan, or another vessel with different heat exposure.
- Do not choose solely by an approximate size name when the listing omits usable inside measurements or capacity.
- A very flexible mold may be a poor fit for anyone who cannot support and move it safely when filled.
- Avoid a surface or construction whose temperature, utensil, washing, and preparation guidance does not fit your routine.
- Do not buy a multipack simply for the count if the pans will not sit level in the oven or fit the cabinet without scraping one another.
What to verify before buying
- Inside dimensions: Look for length, width, and depth measured inside the baking cavity, not only the package or outside rim.
- Wall profile: Determine whether the sides are straight or flared and whether the published dimensions refer to the top or bottom.
- Usable capacity: If volume is stated, compare it with the recipe and leave the headroom that recipe calls for rather than filling to the rim.
- Exterior footprint: Include rolled rims, handles, lids, and decorative extensions when checking oven, dishwasher, and cabinet fit.
- Material and construction: Read the complete description instead of assuming that every steel, aluminum, glass, ceramic, silicone, or cast pan behaves alike.
- Surface instructions: Confirm whether the pan is coated, uncoated, seasoned, or requires a particular release method, along with approved utensils.
- Temperature guidance: Check the current maximum-use instructions against every planned recipe and appliance mode.
- Grip area: Make sure there is a stable place to hold the hot pan with your own oven mitts without touching the loaf.
- Corner and seam design: Tight corners, folds, and exposed joints can affect release and how easily residue is removed.
- Care and storage: Verify hand-wash or dishwasher directions, drying needs, stacking guidance, and any restrictions on abrasives or sprays.
- Included pieces: Check whether a pictured lid, insert, liner, rack, or second pan is actually included and whether every piece is intended for oven use.
Dimensions tell more than “large” or “small”
A rectangular pan can be described by its top opening even when the base is noticeably smaller. That taper helps some loaves release, but it also changes the actual volume and the width of the finished slices. Two pans with similar top measurements may therefore create different loaf profiles. Seek a dimension diagram or clear specifications for the interior rather than measuring a marketing image.
Depth deserves its own check. A deeper pan gives rising dough or batter more vertical boundary, but the recipe still determines a suitable fill level. It is not safe to assume the unused height will solve an oversized batch. Likewise, a shallow pan exposes more surface relative to the center. When changing dimensions, use tested recipe guidance for fill level and timing instead of transferring the original timer unchanged.
For sandwich bread, consider the slice shape you want and the amount of side support the dough recipe expects. For quick breads, think about how easy it will be to monitor the center without over-darkening the outer surface. These are recipe-matching questions, not promises that one pan geometry will always make a particular crust or crumb.
If capacity is missing, do not rely on a home water test until after purchase—and only if the maker’s care instructions allow the pan to be handled that way. Before ordering, a listing that provides both internal dimensions and capacity is easier to compare than one offering only a nominal size.
Material changes the baking routine
Metal loaf pans are widely available, but “metal” can describe different alloys, gauges, layers, colors, and coatings. A light uncoated pan and a dark coated pan should not be assumed to produce identical results under the same conditions. Follow the recipe and maker guidance, observe an unfamiliar pan during early bakes, and record what works in your oven rather than making a universal timing rule.
Glass and ceramic let a pan move from oven to table in some recipes, but they bring their own handling, preheating, thermal-change, and inspection requirements. Verify that the exact vessel is approved for the temperature and appliance you intend to use. Avoid sudden temperature changes unless the current instructions explicitly permit them, and stop using a vessel with damage that its maker identifies as unsafe.
Silicone can offer flexible release and compact storage, yet a filled mold may need rigid support. If a sheet pan is required underneath, include that sheet in the oven-fit calculation and confirm that the combined setup follows both products’ instructions. Flexibility also changes how the pan is lifted, so a soft mold should not be carried by one corner.
Heavy cast constructions can retain heat and may require seasoning or a specific maintenance routine. Their weight increases further when filled. Check whether the user can move the loaded pan with controlled, two-handed support and whether the oven rack is appropriate for it.
Straight sides, rounded corners, and handles
Wall shape influences both the loaf silhouette and the release path. Straight walls can make squared slices appealing, while a slight flare can provide more clearance as the loaf is lifted. Neither is automatically easier if the batter sticks or the recipe’s preparation was not followed. Look at the transition between the base and sidewalls: sharply defined corners form a different edge than broad rounded ones and may take more attention during cleaning.
Some metal pans are folded at the corners; others appear formed from a continuous piece. Seams and rolled rims can trap crumbs or moisture if they are difficult to reach. Close-up photographs and care instructions are more informative here than a distant lifestyle view. If the listing does not show the inside corners, treat easy-release claims cautiously.
Handles or extended rims can provide valuable space for oven mitts. They also make a pan longer and can interfere with adjacent bakeware. Measure the full span, then check how you will rotate, lift, and set down the hot vessel. A lid can help with transport or storage when designed for those uses, but verify whether it is heat-safe; a lid pictured with bakeware should not be assumed suitable for the oven.
Release begins before the batter goes in
A nonstick description does not eliminate recipe preparation or careful handling. Different surfaces may restrict metal utensils, abrasive scrubbers, aerosol sprays, prolonged soaking, or dishwasher use. Read the current instructions before the first batch and keep them available. If a coating becomes scratched, blistered, peeling, or otherwise damaged, follow the maker’s inspection and replacement guidance.
Uncoated pans may call for greasing, flouring, parchment, seasoning, or another recipe-specific method. Parchment can create a useful sling in suitable recipes, but it must be placed away from heating elements and used within its own temperature guidance. Excess paper should not be allowed to obstruct safe handling.
Cooling time is part of release. Some recipes direct the loaf to rest briefly in the pan; others specify a different sequence. Leaving a loaf too long or turning it out too early can create problems unrelated to the pan’s quality. Follow the recipe, use a suitable rack if called for, and avoid cutting against the pan surface.
Plan for cleanup and storage
Picture the cleanup after a sticky fruit loaf rather than after an empty product photo. Can a soft sponge reach each interior corner? Does the rim have an opening that can retain water? Can the pan dry fully before it is stacked? “Dishwasher-safe” and “easy to clean” are not interchangeable statements, so verify the stated method for the exact construction and finish.
Stacking saves space but can scratch some interiors. Pan protectors or a non-abrasive separator may help when permitted, although the simplest solution can be storing pans upright without pressure on the baking surfaces. Measure the cabinet slot and check whether broad handles prevent a stable stack.
Inspect bakeware periodically under good light. Dents, warping, corrosion, chips, cracks, damaged coatings, or loose attached parts can change fit and handling. Use the maker’s criteria for continued use. Replacing a questionable vessel is more sensible than trying to hide damage beneath parchment.
Limitations
- One loaf pan will not reproduce recipes developed for every other pan size or material without possible adjustments.
- Nominal dimensions can obscure differences in taper, depth, corner radius, and usable capacity.
- Oven calibration, rack position, recipe composition, pan color, construction, and starting temperature can all affect a bake.
- A coated surface still needs suitable preparation, utensils, cleaning, inspection, and storage.
- Glass, ceramic, silicone, and heavy cast pans introduce handling requirements that differ from a typical light metal pan.
- A lid or insert may not be oven-safe even when sold with the pan.
- Deep rectangular pans are efficient for one loaf shape but less versatile than a flat sheet for free-form baking.
- Bundled pans take more cabinet space and may be unnecessary for a household that usually makes single-loaf recipes.
Alternatives to compare
A Pullman-style pan with a fitted lid is intended for recipes that call for its enclosed shape; verify pan and lid use rather than adding a loose lid to an ordinary loaf pan. A Dutch oven suits bread methods developed for a covered, preheated vessel and brings different lifting and heat precautions. A baking sheet or stone works for free-form loaves whose dough can hold the intended shape. A muffin pan divides a compatible batter into portions but changes depth and timing. A small cake pan may suit a recipe that provides that alternate format. For occasional no-bake shaping or refrigerator storage, a food-storage container may be more appropriate than buying oven bakeware.
FAQ
Are 8.5-by-4.5-inch and 9-by-5-inch loaf pans interchangeable?
Not automatically. Their length, width, depth, taper, and capacity can produce a different batter depth and loaf shape. Use the size named by the recipe or follow a reliable conversion that addresses fill level and baking progress rather than changing only the timer.
Is one loaf pan suitable for both banana bread and yeast bread?
It can be when both recipes call for that pan’s usable dimensions, capacity, material, and temperature range. The two recipes may still require different preparation, proofing, fill levels, and release steps, so versatility comes from compatibility with the recipes—not merely from the rectangular shape.
Does a darker loaf pan require a different oven temperature?
Color can be one factor in browning, but construction, coating, recipe, oven behavior, and rack position matter too. Follow guidance provided with the recipe and pan. Watch an unfamiliar setup during early bakes instead of applying one temperature change to every dark pan.
Should I choose a loaf pan with a lid?
Choose one when you have recipes or storage needs designed for that exact lid and pan. Confirm whether the lid is intended for baking, cooling, transport, or storage; do not place it in the oven unless the instructions explicitly approve that use.
How much empty space should remain above the batter or dough?
Use the fill level specified by the recipe and the pan instructions. Batter types and yeast doughs rise differently, so there is no single safe fraction for every loaf. If the batch exceeds the recipe’s intended pan, divide it into suitable vessels rather than filling to the rim.